

Contents
How To Add Contact Paper To Unfinished Wood or Untreated Wood
Putting contact paper on unfinished wood doesn’t have to be difficult as long as you take a few preparation steps beforehand.
Contact paper is difficult to remove, so we recommend only using contact paper surfaces like kitchen cabinets and drawer liners that you want to cover permanently.
The first thing to keep in mind is that the contact paper’s final appearance will reflect the surface it is adhering to. This means if the unfinished or untreated wood is rough, uneven, or dirty, the contact paper will have more difficulty sticking.
It’ll also show through any rough impections on the wood’s surface or indentations due to holes for example.
The easiest way to improve a surface like kitchen cabinets for contact paper is to simply wash the wood thoroughly with soap and water. The surface should be dry to the touch before attempting to secure contact paper.
Unfinished or untreated wood often has a rough exterior, which can make the contact paper look bumpy. If possible, sand the surface you want to be adorned with contact paper so that it is smooth.
Can You Use Contact Paper on Plywood?
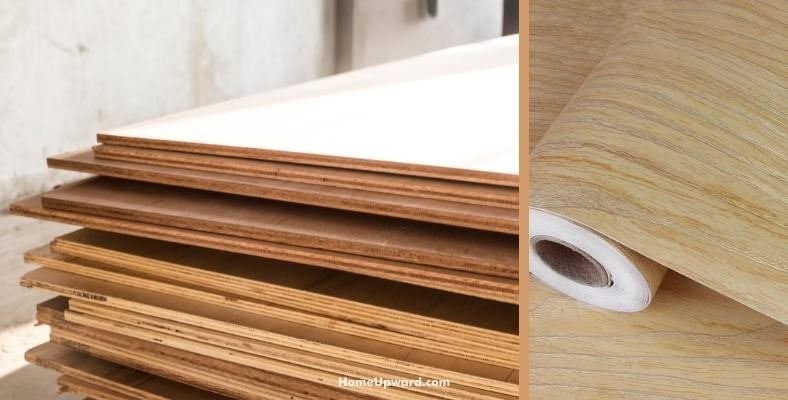
Yes! Contact paper will work on plywood just as it works with other untreated or unfinished wood. In fact, using contact paper on plywood is a good idea for a simple and affordable aesthetic upgrade.
Follow similar instructions to adhere contact paper to plywood, remembering to keep the surface as clean and smooth as possible. When it’s time to remove the contact paper, the plywood may get damaged or retain a sticky residue.
How Do You Remove Contact Paper From Wood?
First, heat is your best friend when trying to remove contact paper. A heat gun is your best bet, but a simple blow dryer that you would use on your hair will also work just fine. Aim the heat source on its highest setting at the contact paper to encourage the adhesive to release.
Cover the entire surface of the contact paper with an even distribution of heat, getting into every corner. Once you see the contact paper start to release, grab a corner and slowly start to peel.
The more slowly you go, the more likely you will peel off a large piece. If you try to move quickly, you will rip off only tiny pieces, which not only makes everything more time consuming, it also makes the next steps more difficult.
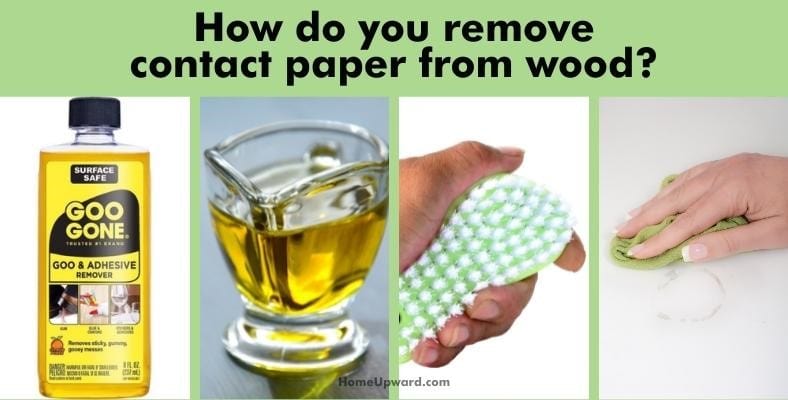
How Do You Remove Contact Paper Residue?
- Once as much of the paper is peeled up as possible, pour an adhesive remover or vegetable oil on a rag and rub it all over the leftover sticky residue and other debris on the kitchen cabinet shelf or drawer liner.
- Let the coating sit for about 10 minutes to soak into the residue.
- After about 10 minutes have elapsed, scrape away at the oiled surface with a putty knife, scrub brush, or another tool. You want to find something that will help you polish the surface without further damaging or gouging into the wood.
- As you scrape, wipe the residue away with paper towels.
- Once you are finished removing all of the sticky stuff left behind, clean the inside of your now contact paper free cabinet or drawer liner with a damp cloth.
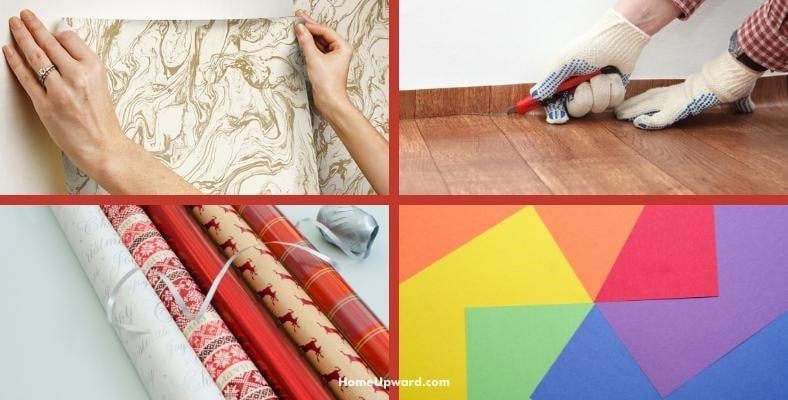
Contact Paper Alternatives To Consider for Wood Surfaces
Contact paper is an affordable face lift to cover the wood grain in a kitchen cabinet or to spruce up a painted wood surface. However, it can be a serious commitment because of the powerful adhesive used to stick to surfaces.
There are many alternatives to contact paper if you are looking for permanent enhancements to your cabinets and drawers.
- Try peel and stick wallpaper and linoleum for a similarly permanent alternative that comes in a huge variety of colors and materials.
- If you need something more temporary, simple alternatives like wrapping paper and construction paper work great. These shelf liners are creative, affordable, and fun, but won’t last very long since they’re not very durable. This is best for people who want to change liners regularly or for cabinets that don’t get as much use.