It’s pretty common to think you absolutely have to pay an electrician to do small things like fix lighting or change a light fitting – but it’s not necessarily true! In this article I’ll share what you need need to know.
Contents
Do you need an electrician to change a light fitting?
The basic facts are:
- You do not necessarily need an electrician to change a light socket or fitting. If you’re handy with hand tools and can follow basic guidelines, it’s a fairly simple task once you know what to do and get the tools you need.
- However, if you’re unsure about working with wiring or electricity and don’t have good “hands-on” skills, you should hire a professional electrician to do the work.
Working with electrical wires and live electricity can be dangerous work so you’ll want to be sure and pay attention to the right safety steps, protective gear, and don’t take anything for granted.
Is changing a light fitting hard?
Changing a light fitting isn’t very hard in most cases, but it can be a challenge for absolute beginners or DIY novices. There are some cases, however, where even if you could do it yourself it’s not a good idea.
For example, in some rental properties, your contract will state that an electrician must change fittings. This is usually to both protect the renters and ensure competent professional providers who are bonded and insured are used.
It’s also worth checking if your home insurance calls for an electrician to change all light fittings. Failure to follow the terms of your insurance can leave you without monetary compensation if something should go wrong.
How much does an electrician charge to install a light?
The price varies, but an electrician will charge between $35 to $100 per hour for a light to be installed if the existing wiring can be used. The cost varies across the country, and you also need to factor in the cost of the light!
Generally speaking, it takes two hours for a light to be installed, meaning most people spend between $70 and $200 in labor costs. Of course, if new wiring needs to be put in place, or the work takes longer than anticipated, it will cost you more.
Your electrician will explain these costs to you and usually provide you with an estimate of the cost before beginning the work. To have an accurate estimate, be sure to provide the electrician with as much information as possible.
They might even come to your property before beginning to assess the situation and offer you an estimate.
Usually, this is done with older houses where the wiring might need to be replaced. As regulations have changed, there is always a chance the wiring in your older property needs to be updated and replaced, which will lead to higher costs.
This is an extensive job to undertake, and one your electrician will explain to you before undertaking the work.
It’s always worth shopping around or receiving multiple quotes for the work before selecting an electrician. You can contact them directly or use tradesman websites to find electricians in your area. Shopping around can often save you some money, so it’s worth doing!
If you live in rented accommodation, it’s worth checking whether you or your landlord is responsible for the costs of changing the light. You never know, checking this information could save you some money! Or, they might have a preferred electrician they want you to use.
Checking this information can save you some money and hassle in the long run! Be sure to set aside a few hundred dollars for the light fitting and labor costs when an electrician changes your light!
How do I change a light fitting?
For those brave individuals who want to change the light fitting themselves, you can use the following steps! We recommend only doing this if you have experience with changing light fittings and that you follow the correct safety procedures at all times.
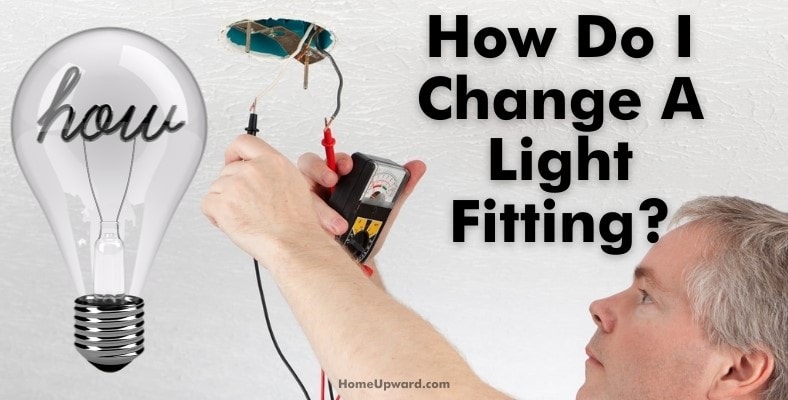
Begin by turning off the power on your circuit board. You should then use a circuit tester to confirm that the power is off before conducting your work. Ensure that the wall switch for the light is off too!
Next, remove the cover to your old fixture, removing the wire connectors and untwisting the wires as you go. Remove the base or trim from the old fixture, too, if needed.
Now you will need to check the electrical box the fitting is attached to in the ceiling. If it appears loose, tighten the screws holding it in place. Take care not to overtighten! Check that the box is compatible with your new light fitting to avoid any issues!
You will also need to check that it can support the weight of your new fixture!
The electrical box also needs to be grounded, meaning it should be attached to a ground wire in the ceiling. If you are unsure of this or the box’s compatibility, you will need to purchase and install a new box.
Once the box is secured, it’s time to attach your new fitting! Before doing so, read the instructions on your new fitting so you can match the wires with the ones in your ceilings. Typically, black wires connect to black wires and white wires to white.
Your grounding wire (usually green) will connect to a grounding screw on the grounding bar.
This isn’t always the case, and we recommend thoroughly reading and checking before connecting any wires. You can use a wire stripper to remove your new fittings wire coating and wrap the bare section of each wire to the corresponding wire. Next, screw-on wire connectors and connect the grounding wire. Be sure to take care when doing this to avoid any electrocution or injury!
Next, fold the wires into the electrical box or space in the base. Attach the base or canopy of your new light fitting to the electrical box. It’s best to have a second pair of hands on-hand to help you here!
Once done, install the bulbs, checking that you have the correct wattage! Once installed, turn the circuit panel on first, then the light switch. If the light doesn’t come on, turn off the switch and circuit before checking the wiring connections!
The final step is to attach the trim and cover to your light fitting! Here you can make length adjustments if your light hangs on a chain, and you are done!


