
In this little guide, I’m going to show you how to change a ceiling light socket, how to take apart a light socket, and how to fix a short within a light socket.
Contents
First things first
Ceiling lights aren’t quite as simple as they once were but the good news is that most are still pretty simple. There are plenty of basic tools that any good DIY amateur should have on them already if you’d like to do it yourself and you won’t need an electrician.
Installing a new light socket and taking apart a light socket are opposite sides of the same coin. Because of this, you’ll need to know one to know the other.
Tools and Materials for the Job:
- A Razor (to cut away wallpaper or paint, if it is in your way)
- Lineman’s Pliers
- Screwdriver
- Non-Contact Voltage Tester
- Wire Strippers
- Extra Wire Nuts
How do you fix a short in a light socket?

To fix a short in your light socket, follow the next sections below: part 1 (how to take apart a light socket) and see if you can figure out where the short might have come from. There are probably two reasons for a short, either a wire has melted or a connection is loose.
If a wire has melted, cut out the affected part and splice a new wire. If the wire is too short, then you might have to replace the whole socket (in which case continue to part 2 – How to install a new ceiling light socket).
If it was a loose connection, you first need to look for frayed wires. A single strand that is poking out of the wire nut can connect to another wire and confuse the system. If that’s the case you need to cut off the frayed wire and essentially do Step 2 Part 2 below (connecting the wires together).
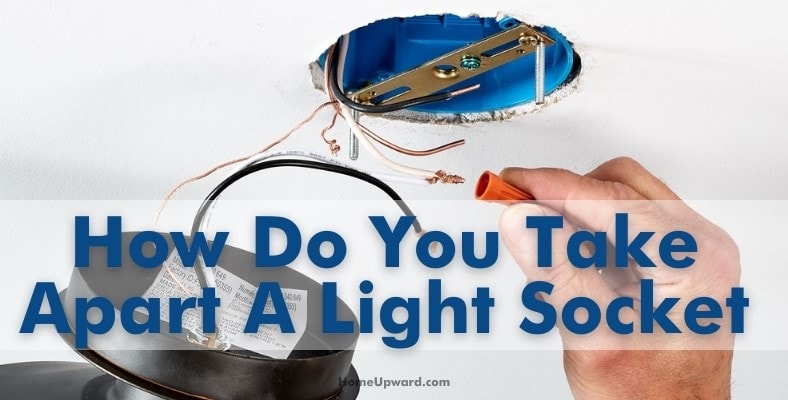
Part 1 – How do you take apart a light socket?
Step 1 – TURN OFF THE POWER!
The last thing you want is to get electrocuted by trying to stop others from getting electrocuted. Flip the breaker that connects to the ceiling socket you are replacing. You can check that the power is off by using the non-contact voltage tester.
Step 2 – Remove the shades or the glass covers.
You should be able to screw off any glass covers, but some might need a screwdriver. Either way, remove the covering and then remove the lightbulbs as well. This will expose the current socket that we want to change.
Step 3 – Un-attach the socket and let it hang.
Most sockets are screwed into place using simple screws, so you should be able to remove the socket by unscrewing it. Some sockets use a threaded post instead. This threaded post extends from behind the fixture. If this is the case, there should be a small knob in the center of the socket which can help you release it.
Step 4 – Make a note of all the wires
The wires connected to the socket we are about to remove should help you figure out what should be connected to what wire later on. Make a note of what you see, so when it comes to attaching the new wires, you are putting them back into the right place.
Step 5 – Remove the connections from the wire to the socket.
There are normally two or three screws or wire nuts that are holding the socket to the bracket. With the socket lowered and the wires exposed you should be able to see these connections. Either use your hands or if it is tight use the pliers to release the wire nuts.
Step 6 – Strip the wires
Separate the wires which are connected to the junction box (don’t mess with the junction box itself) and then remove about ½ inches of the rubber that covers the wires. If any of the wires are damaged, then clip them and strip them again until you have that exposed ½ inches.
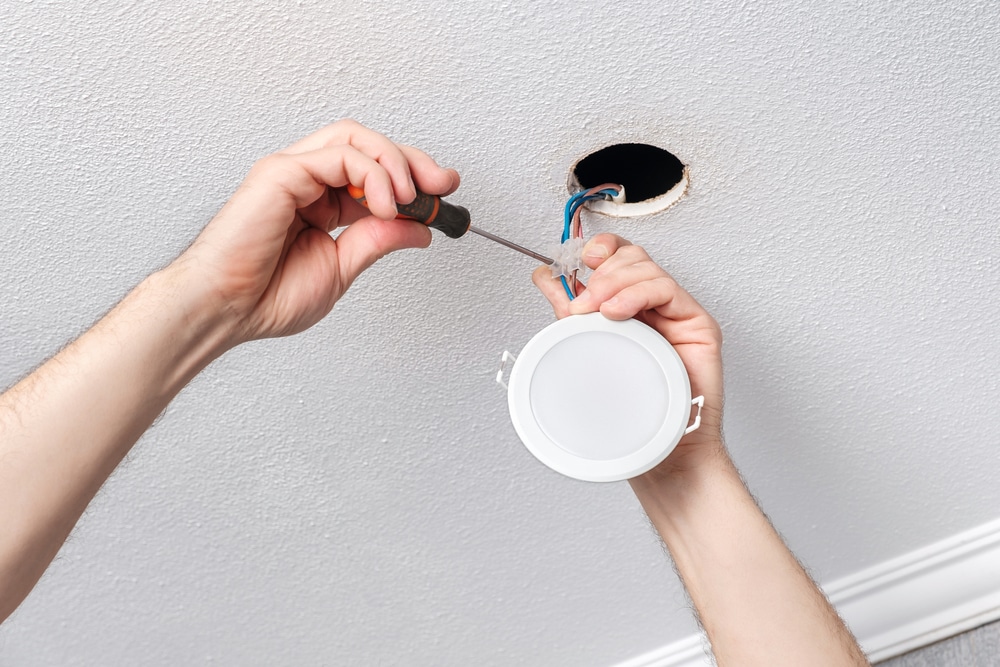
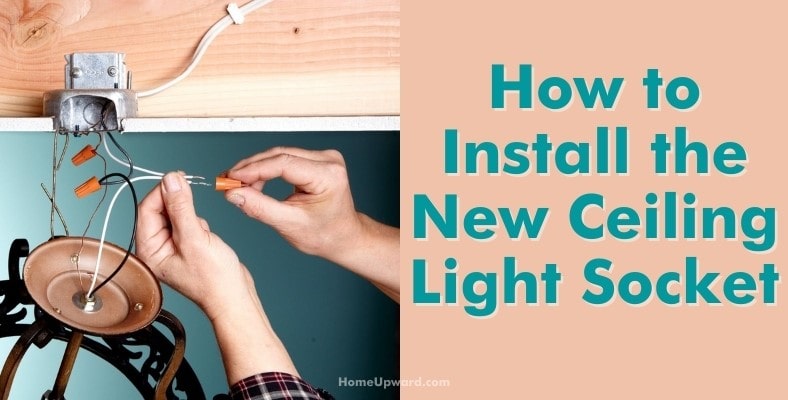
Part 2 – How to install the new ceiling light socket
Step 1 – Prep the new socket
Make sure the wires are exposed so that they are ready to be attached, Have them hanging down so you can reach them easily. Next, make sure that the wires have at least ½ inches exposed like the junction box’s wires are.
Step 2 – Connect the wires together
Using the notes you made before, connect the new socket’s wires to the junction box’s wires. Normally it would be white connected to white, and black connected to black, but follow whatever pattern the original socket had. Twist to connect them together, and then connect the wire nuts.
Make sure that no wires are sticking out beneath the wire nuts. If they are, then untwist everything, trim the length, and then re-connected everything again. Give a little tug to make sure nothing is loose.
Step 3 – Place the wires gently back into the junction box.
You don’t want anything to be overstuffed, as that can cause the box to overheat. Once everything is safely put away, you can screw the socket into place like the old one had been.
As you’re doing this, make sure that no wires are being pinched in the process.
Step 4 – Power back on
Put a bulb in and then see if the light works! If it doesn’t turn on after you flip the breaker switch back, then there is probably a loose connection. Start again and see what came loose.